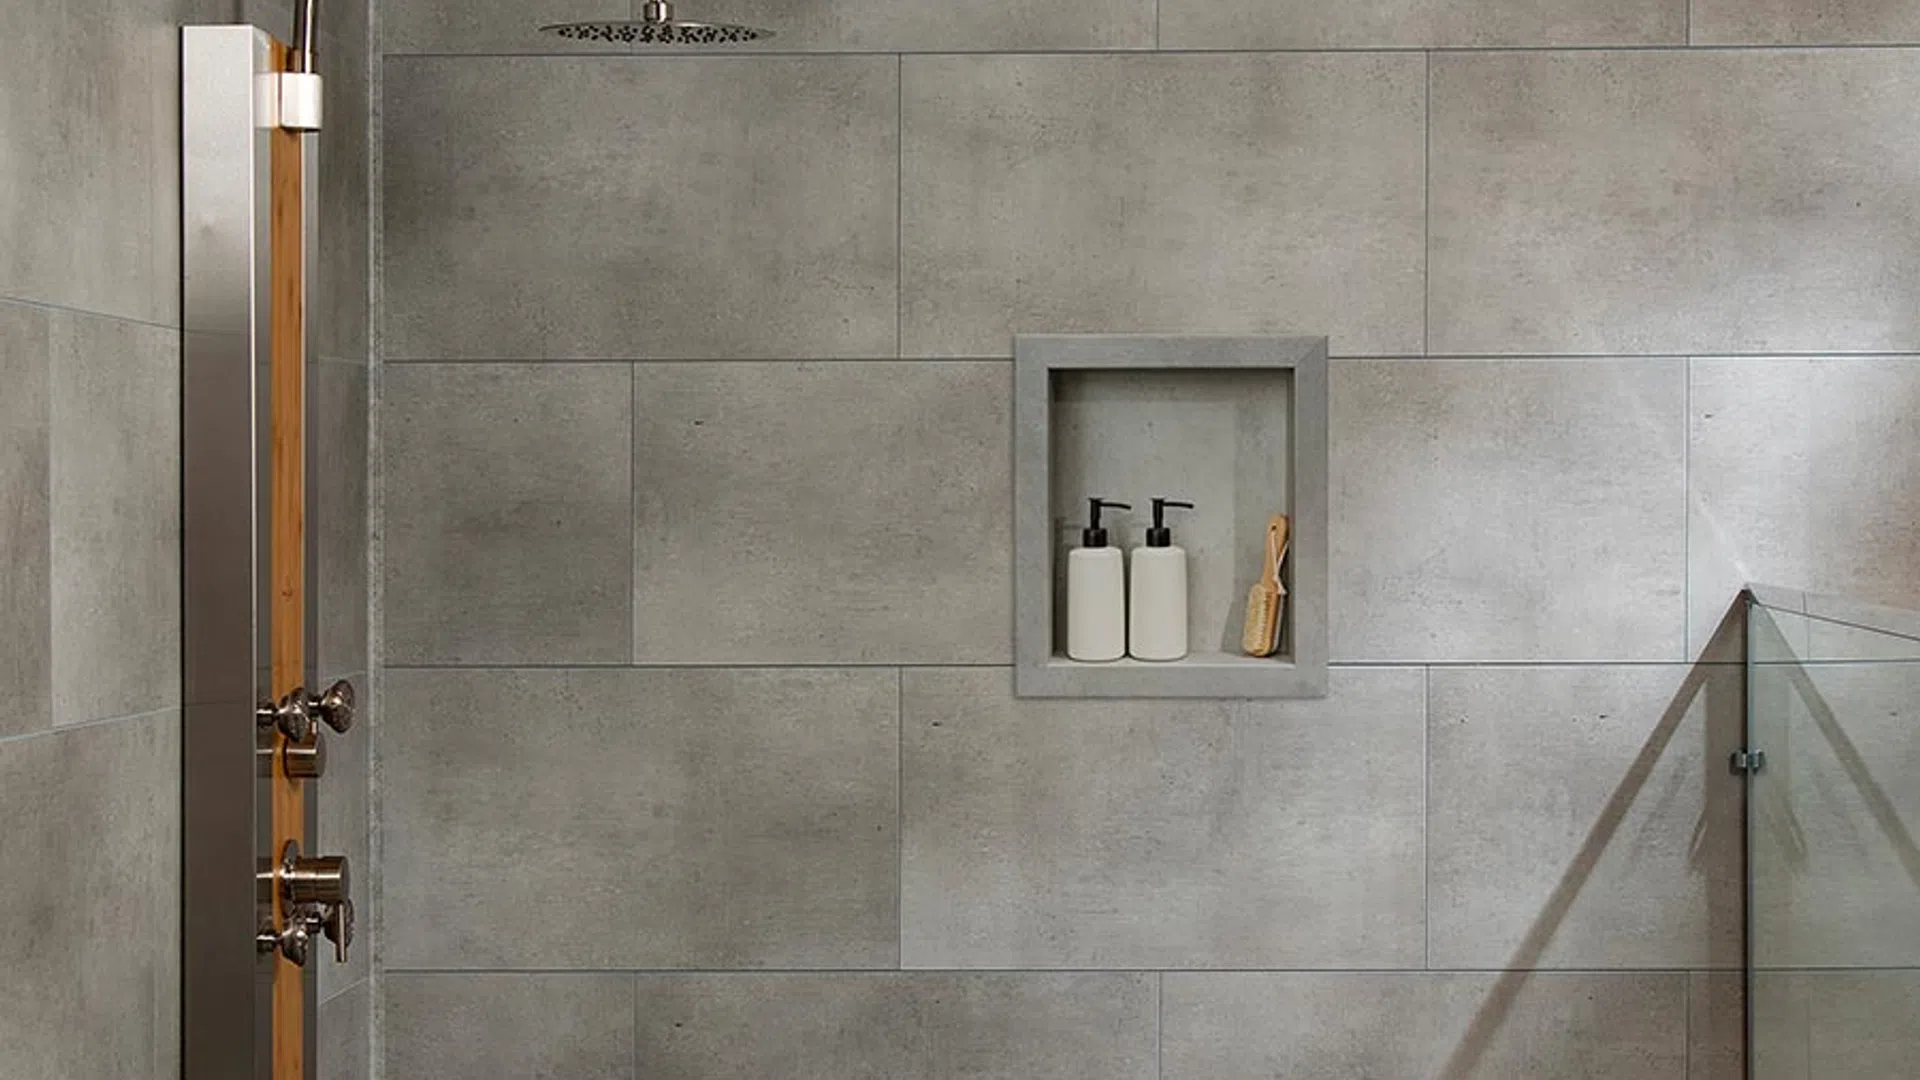
Modern shower with large rain shower head, gray tiled walls, built-in shelf, and bench with folded towels.

Tub & Shower Niche Installation

Tub & Shower Niche Installation Guide

Plan your shower niche layout
Gauge Your DIY Skill Level
Download PDF

READ this entire installation guide before beginning your installation.

LICO is not responsible and will not be held liable for project failures if installation guidelines are not followed. Although Palisade tiles are 100% waterproof, we recommend the use of a siliconized sealer like DAP® or SilTex in the seams for added protection. Follow your local building codes for wet environments like shower and tub enclosures. We recommend a 100% waterproof substrate that will prevent water from getting behind potentially unsealed areas that would cause mold or other damage.

Shower Niche included.

Rectangular recessed wall niche with grey marble texture and white outer frame isolated on white background

Tools and supplies needed:

  • Protective eyewear
  • Measuring tape
  • Utility knife
  • Level
  • Hand saw or circular saw/table saw
  • Drill bit & jig saw (for cutting holes)
  • Caulking gun for 10.3 oz. adhesive tube
  • Adhesive for PVC panels. Recommended adhesives: Loctite® Power Grab® Ultimate (white formula only), Titebond® Titegrab Ultimate®, Liquid Nails® Fuze It® and Manus® 75-AM HV
  • Silicone-based sealant
  • Optional: Matching trim
  • Optional: Wood shims

Set of various yellow and black construction and woodworking tools on white background.

Instructions

It is best to plan ahead and cut and build your shower niche location prior to tiling your wall. We suggest the location be away from direct shower spray. Plan to install the shower niche after the wall is tiled and completed. Place a bead of adhesive along the bottom of the opening where the shower niche will be resting, no need to apply adhesive on the sides or top of the opening.

Place a bead of adhesive on the back side of the niche flange, approximately a half inch from the outside edge (to leave room for the bead of sealant). Apply the adhesive around the entire perimeter.

Person cutting drywall around a wooden window frame with a handsaw for installation or repair.
Unfinished wall with white marble tiles and a cutout niche framed with wood, showing construction in progress.
Person applying white sealant with a caulking gun to a wooden frame opening in marble tiled wall
Hands applying adhesive sealant around the base of a white rectangular box on a brown surface.
Person cutting rectangular wall opening measuring 12.75 inches wide by 14.75 inches tall with saw.

Next Steps:

  • Place a small bead of sealant close to the outside edge.
  • Apply it around the entire perimeter.
  • Carefully place the shower niche into the opening.
  • Once it is in place, wipe off any excess sealant. As added protection, you can place a small bead of sealant on the top edge only.

Hands applying adhesive around the base of a white square object on a brown surface.
Hands installing a white marble recessed shower niche in a matching marble tiled wall.
Person applying sealant to corner of recessed marble tiled shower niche on wall installation.

High Contrast Mode: