Modern bathroom with glass shower enclosure, black vanity, white toilet, and wall-mounted towel rack

Signature Plus Series Installation

Signature Plus Series Installation Guide

Access the full installation guide
Tackle Your Own Installation
Download PDF Watch Video

READ this entire installation guide before beginning your installation. LICO is not responsible and will not be held liable for project failures if installation guidelines are not followed. ACP recommends that you install these tiles over an existing substrate to ensure proper structural integrity. Signature Plus panels are not intended to be attached to raw concrete, poured concrete walls or concrete block basement walls.

FOR SHOWER, TUB OR DIRECT WATER ENVIRONMENTS

Although Signature Plus panels are 100% waterproof when used with sealant in the seams, we recommend you follow your local building codes for wet environments like shower and tub enclosures. In a tub or shower area, existing ceramic tile walls can be covered with no additional preparation. Otherwise installation over a waterproof substrate is required, such as Cement Board®, Schluter Kerdi Board®, GP Densheild®, JohnsManville Go Board ®, Hardiebacker®, WPBK Triton®, Fiberock® and equivalent products. Always follow manufacturer's installation instructions to create a waterproof enclosure.

NOTE:

Lico is not responsible or liable for any labor costs or damaged product incurred as a result of improper installation. All product defects are covered under our 10-year limited warranty.

Due to manufacturing variations. we cannot guarantee an exact color match from lot to lot. Prior to installing Signature Plus panels and trims on your walls, please unpackage & lay out all purchased product to ensure color consistency.
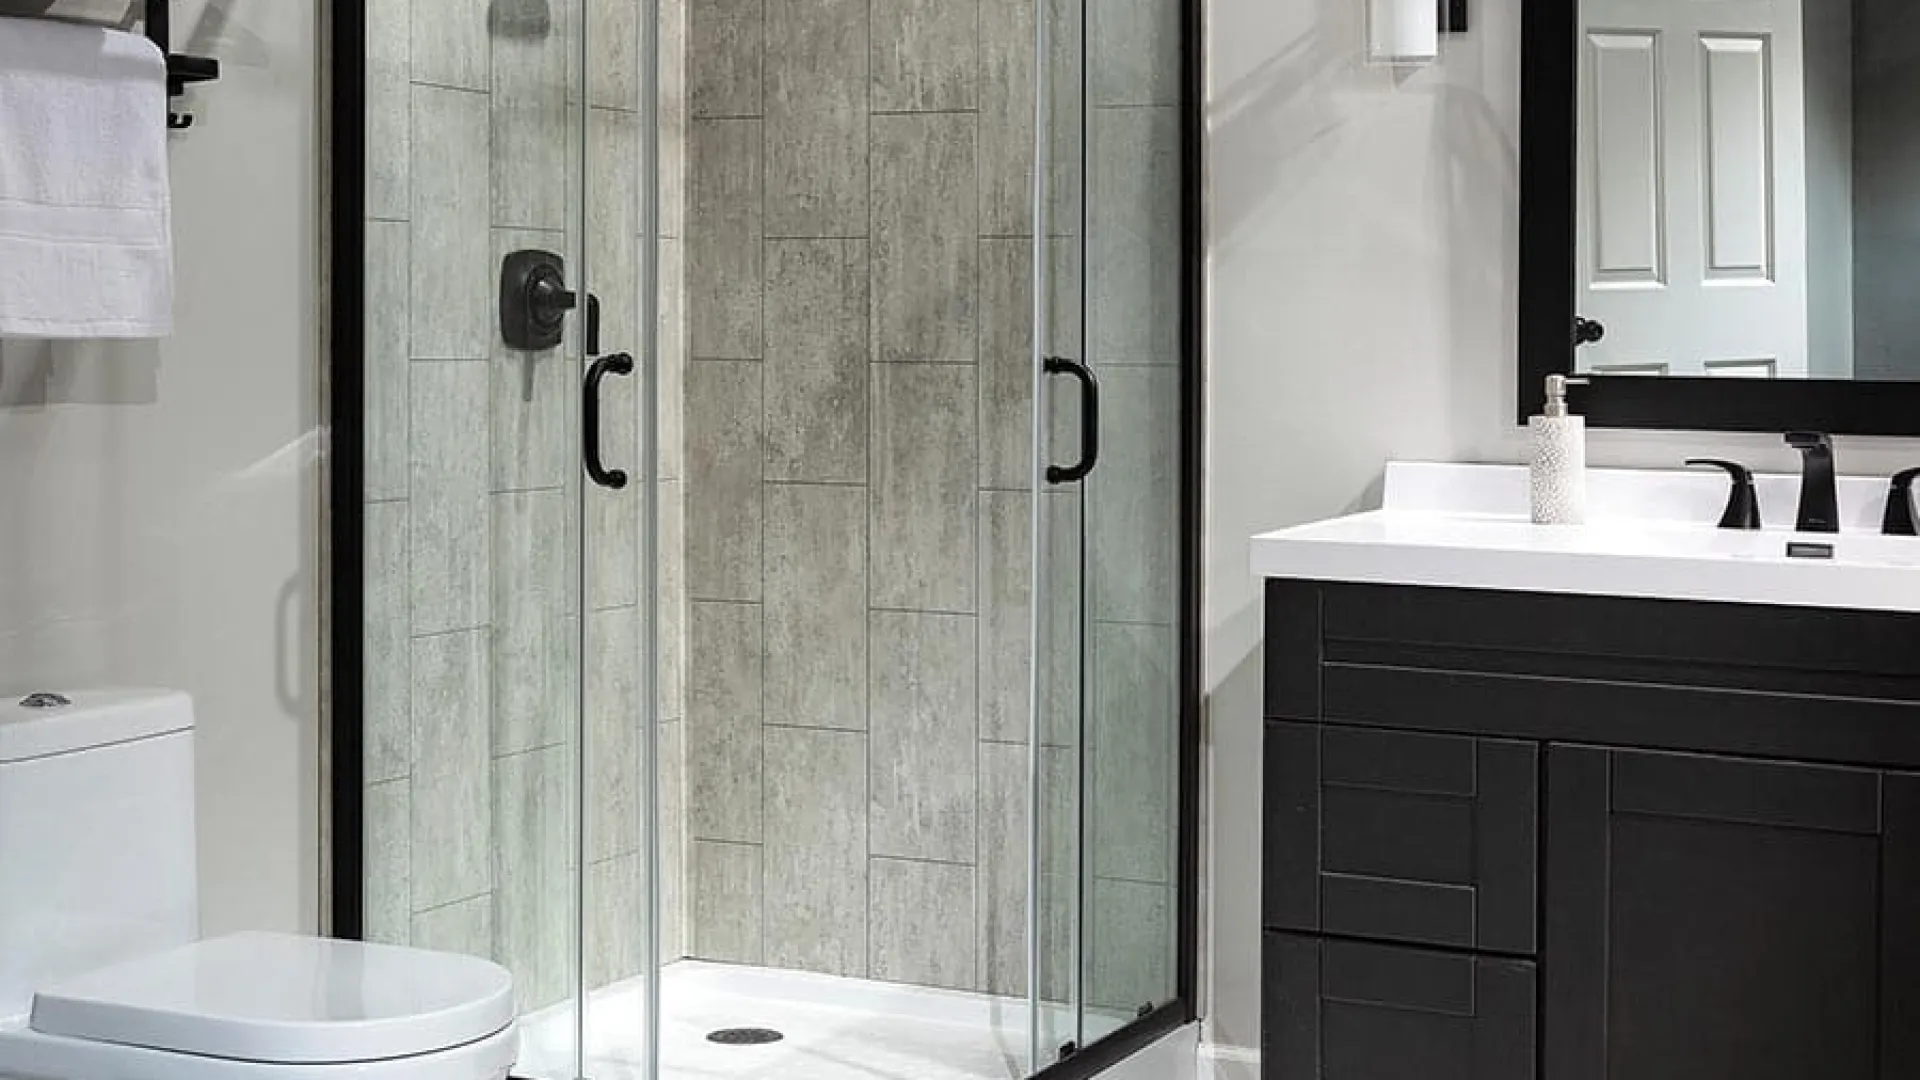

Modern bathroom with glass corner shower, white vanity, black fixtures, and gray walls in minimalist design.

Tools and supplies needed:

  • Protective eye wear
  • Measuring tape
  • Utility knife
  • Level
  • Hand saw or circular saw/table saw
  • Drill bit & jig saw (for cutting holes)
  • Caulking gun for 10.3 oz. adhesives
  • Adhesives for PVC panels—Loctite® Power Grab® Ultimate, LIQUID NAILS® FUZE*IT®, Titebond Titegrab UltimateTM and Manus 75-AM HV
  • Silicone-based sealant
  • Optional: Matching trim
  • Optional: Wood shims
Collection of various hand tools including hammer, brush, measuring tape, utility knife, safety glasses on white background.

Preparation for installation

Before starting, make sure all surfaces are clean, dry, smooth and free from dust, grease, wax, etc. Wipe the back surface of the panels with a clean cloth to remove dust or debris, Perform a "dry layout" prior to applying adhesive.

Measure walls & check for level and square. depending on dimensions and room construction, you may need to trim some panels accordingly.

Install the back wall panels first, from left to right (1&2). Next, install the side wall panels (3 & 4). Note that panels 1 & 2 will connect together with tongue and groove, so pay attention ahead of install so that connections works.

White marble wall tiles with gray veining arranged in a staggered pattern on three sides of room.
Folded white marble-patterned tiles with gray veining on two panels against a white background.
Wall panels numbered 1 to 4 showing marble texture and tongue and groove connection for assembly.

Apply adhesive to the back of the first panel.

Using recommended adhesive, apply a 1/8″ bead around the perimeter of the panel, about 1″ in from the edge. Then, apply rows of adhesive every 4-6″ apart in a typical "S" pattern.

Insert sealant from end to end into the deeper channel of the first inside corner trim. Panel 1 will be inserted into this channel.

Slide the inside corner trim onto panel 1.

Hand holding a caulking gun applying grey adhesive in wavy lines on a white board set on brown surface.
Hand applying white adhesive glue to a plastic joint piece for repair or assembly on a brown background
Hand installing white inside corner trim on marble-patterned wall panel with diagram showing trim placement.

With the inside corner trim facing the left corner, and after applying adhesive to back of panel 1, press the panel onto the back wall.

Make sure it is tight into the corner. Before installing panel 2, be sure to put a bead of sealant along the tongue and groove edge of panel 1. Like with panel 1, apply adhesive to the back of panel 2.

Insert sealant into the second inside corner trim from end to end. Slide the inside corner trim on panel 2. Like panel 1, make sure it is the deeper channel as that is the one that panel 2 will go into.

Man installing large white marble-patterned wall tiles in a shower area during renovation.
Hands applying white sealant to the gap between marble tiles and a wall corner for waterproofing.
Top view diagram of inside corner trim with back wall, side wall, and two palisade panels shown.

With the inside corner trim facing the right corner, press panel 2 onto the back wall.

Make sure the corner trim and panel is tight in the corner. Detail showing the tongue and groove connection.

Slide the panel to the left so the tongue and groove of the panel edges click together. Wipe off any sealant that squeezes out or add more if needed.

There is enough depth to the inside corner trim to allow plenty of panel movement to fit the panels together. Also, check for any sealant that may squeeze out of the inside corner trims. That will need to be wiped off or if lacking, you may need to apply more.

Man installing large white marble-effect tiles on shower wall in a bathroom under construction.
Close-up of two white gypsum ceiling tiles with different edge profiles on a black surface.
Man installing marble-patterned wall panels with numbered steps in a shower stall renovation.
Two hands aligning white marble tiles with gray veining during floor installation close-up.

Apply sealant into the other side of the inside corner trim that is already installed.

Then apply adhesive to the back of panel 3 and affix to left wall and make sure it is inserted into the inside corner trim.

Apply adhesive into J-trim piece.

Install the J-trim to cover the outside edge of panel 3.

L-Trim Option

Note: If applying shower wall system over existing substrate such as tile, you will need to use L-trim which will better accommodate the thicker dimension of the wall.

Man installing numbered large white marble pattern wall panels in a shower area against a gray wall.
Hand applying white adhesive sealant from a tube onto a white J-Trim molding piece on a brown surface.
Man installing white marble-patterned shower wall panels in a corner bathroom space with numbered steps
Top view diagram of L-Trim option showing wall, existing tile, Palisade panel, and L-Trim in red corner support.

Cut panels to accommodate shower components.

Measure and mark the locations and use one of these types of drills or hole saws.

Apply sealant into the other side of the inside corner trim that is already installed. Then apply adhesive to the back of panel 4 and affix to right wall and making sure it is inserted into the inside corner trim.

Also make sure it is fitting nicely to the plumbing.

Insert sealant into the second J-trim from end to end.

Top view diagram showing wall, palisade panel, and J-Trim in red connecting panel to wall.
Two images showing close-up of cordless drill with large drill bits cutting holes in white tile surface with metal shavings.
Man installing large marble-patterned wall panels in a room with gray walls and ceiling.
Man installing large white marble-effect wall panels in a corner bathroom space with gray walls.

Install the J-trim to cover the outside edge of panel 4.

Apply sealant to top edges of all the panels for a watertight seal.

Smooth the sealant across the panels for adequate coverage.

Completed shower wall system install

Man installing a glass shower door in a modern bathroom with white marble tiled walls and gray ceiling.
Top view diagram showing wall, Palisade panel, and red J-Trim component fitting around panel edge.
Hand applying white caulk between marble tiles and wall for sealing and finishing touch in home improvement.
Close-up of finger smoothing fresh white tile adhesive above marble tile on wall during installation
Modern shower with white marble-patterned wall tiles and simple glass door in a minimalist bathroom.

High Contrast Mode: