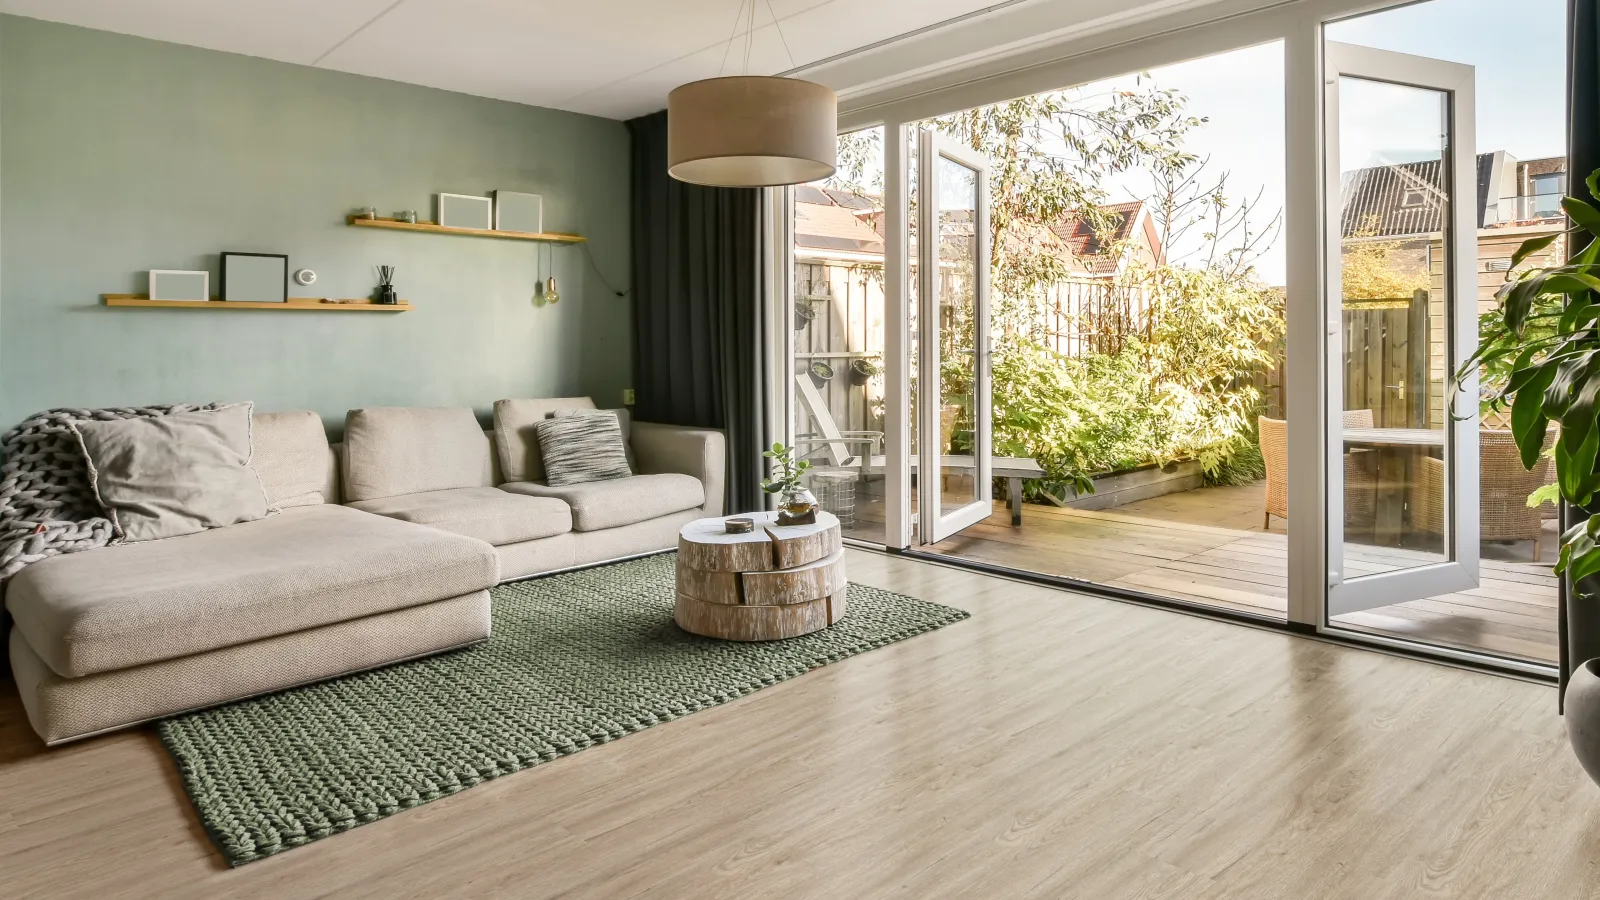
Modern wine tasting setup with two black chairs, wall-mounted wine racks, and illuminated pendant lights.

Iconic Series Installation Guide

Walk through Iconic Series setup
Check Your DIY Skill Level
Download PDF Watch Video

READ this entire installation guide before beginning your installation.

ACP is not responsible and will not be held liable for project failures if installation guidelines are not followed. ACP recommends that you install these tiles over an existing substrate to ensure proper structural integrity. Wall Solutions - Iconic Series tiles are not intended to be attached to raw concrete, poured concrete walls or concrete block basement walls.

TOOLS AND SUPPLIES NEEDED:

  • Protective eye wear
  • High-grip gloves
  • measuring tape
  • Level
  • Table saw
  • Drill bit & jig saw (for cutting holes)
  • Block plane
  • Sanding block
  • Caulking gun for 10.3 oz. adhesive tube
  • Adhesive for PVC panels
  • (Recommended adhesives: Loctite® Power Grab® Ultimate (white formula), LIQUID NAILS® FUZE*IT®, Titebond Titegrab UltimateTM and Manus 75-AM HV) (NOTE: In Canada, use Lepage® No More Nails Wet Grab
  • Silicone-based sealant
Modern bathroom with walk-in glass shower, marble walls, floating sink, pendant light, and wooden stool with towels.

FOR INSTALLATION IN DRY ENVIRONMENTS

Appropriate substrates in a dry environment would include framed walls with existing tile, drywall, cement board, OSB, or plywood. Wall Solutions - Iconic Series tiles must be attached to structures that comply with local building codes and have incorporated appropriate moisture abatement measures.

FOR SHOWER, TUB OR DIRECT WATER ENVIRONMENTS

Although Wall Solutions - Iconic Series tiles are 100% waterproof when used with sealant in the seams, we recommend you follow local building codes for wet environments like shower and tub enclosures. In a tub or shower area. existing ceramic tile walls can be covered with no additional preparation. Otherwise, installation over a waterproof substrate is requires, such as Cement Board®, Schluter Kerdi Board®, GP Densheild®, Johns Manville Go Board®, Hardiebacker®, WPBK Triton®, Fiberock® and equivalent products. Always follow manufacturer's installation to create a waterproof enclosure.

FOR BACKSPLASH, LAUNDRY ROOM OR OTHER DAMP ENVIRONMENTS

We recommend using a silicone sealer in the tile's tongue and groove seams for damp environments. follow manufacturer's directions and your local building code. ACP, LLC is not responsible or liable for any labor costs or damaged product incurred as a result of improper installation. All product defects are covered under our 10-year limited warranty. Due to manufacturing variations, we cannot guarantee an exact color match from lot to lot. Prior to installing Wall Solutions - Iconic Series wall panels, please unpackage and lay out all purchased product to ensure color consistency. If you encounter unreasonable color variation, please call us at 1-800-434-3750 7am-4:30pm CST, M-F) so that we may assist you with your project.
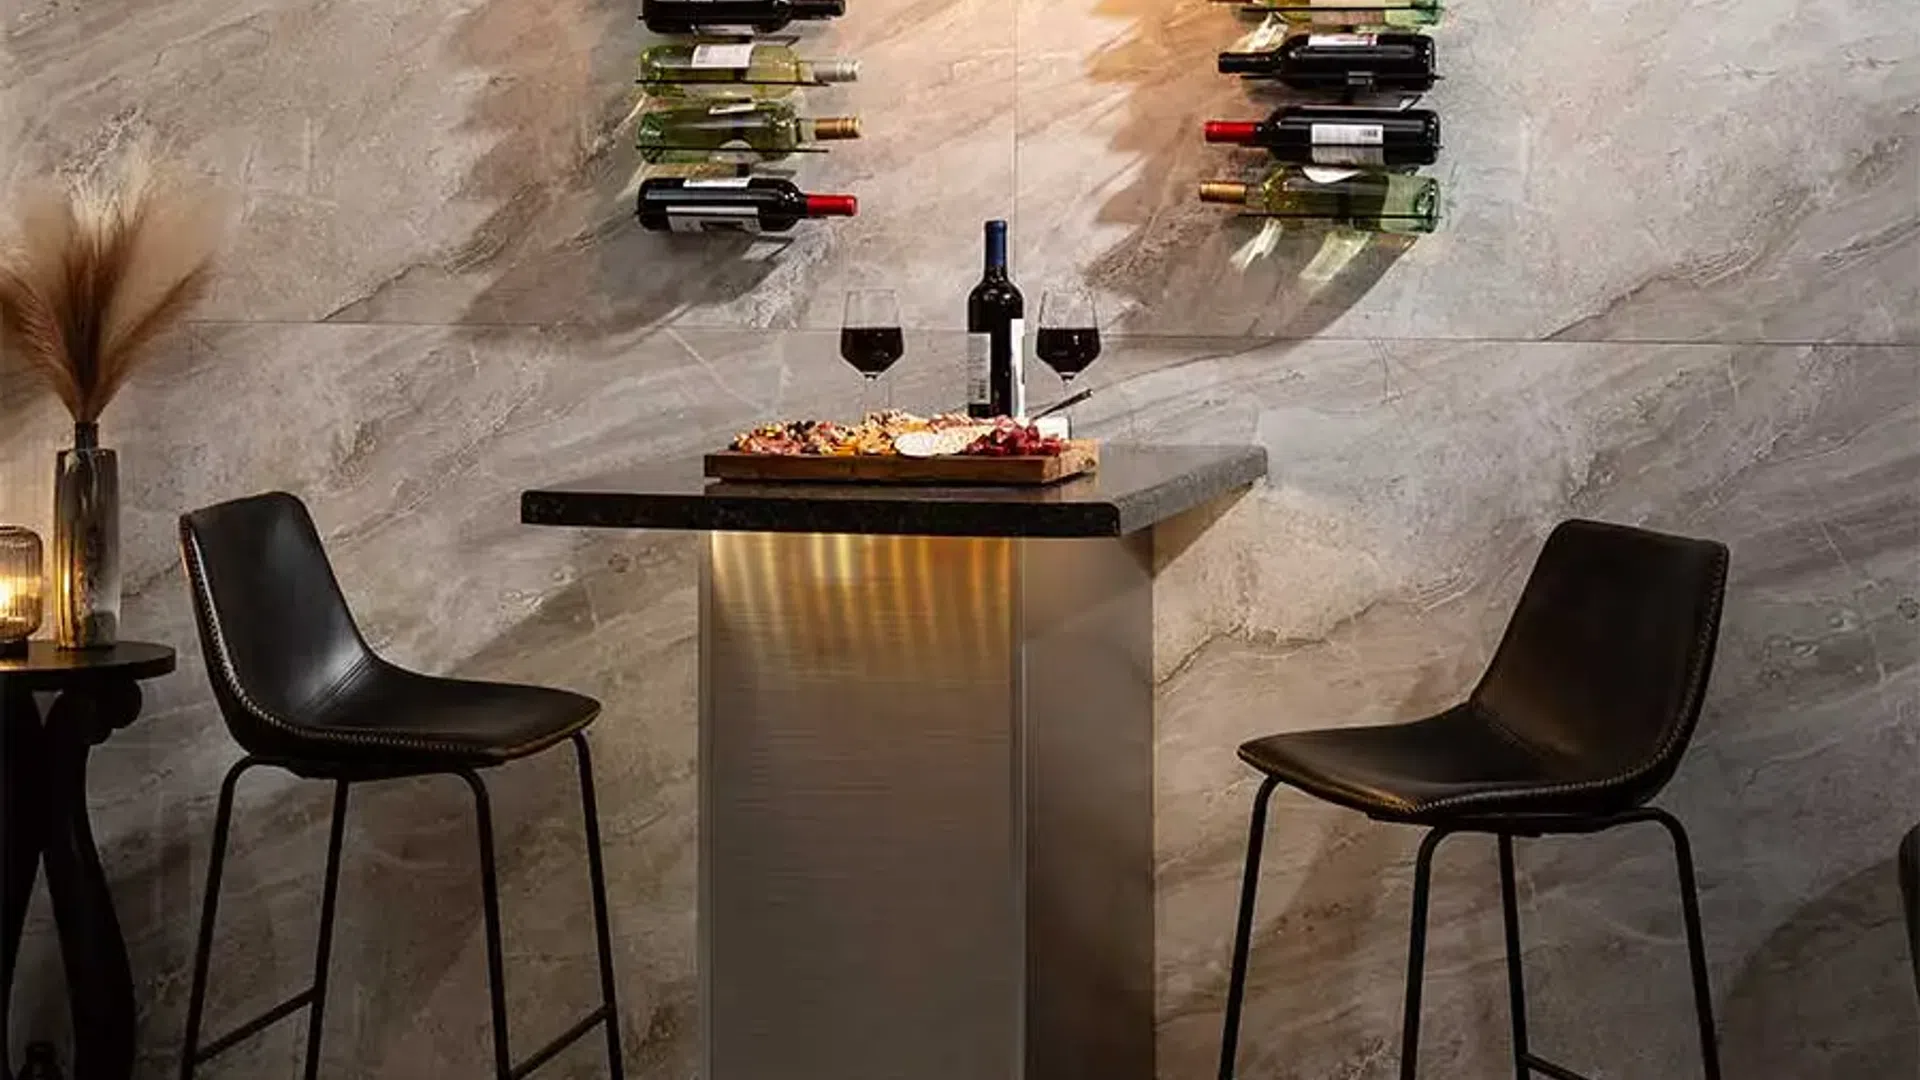

Modern open-concept living space with wooden flooring, marble walls, and stylish furniture under a wooden slat ceiling.

PREPARATION FOR INSTALLATION / TIPS

Before starting, make sure all surfaces are clean, dry, smooth, and free from dust, grease, wax, etc. Wipe the back surface of the panels with a clean cloth to remove dust or debris.

Perform a "dry layout" prior to applying adhesive. This will help you visualize tile cuts and placement of tiles with similar designs. Panels include color variations, lines, and cracks to emulate the look of natural stone. The decorative, photo-realistic pattern repeats. The location on each tile where the pattern repeats can be different, however, resulting in a unique look for each tile.

Measure walls, & check for level and square. depending on dimensions and room construction, you may need to trim some panels accordingly. Level and snap a straight line before beginning. Start on the wall farthest from room entrance. if your project calls for Wall Solutions - Iconic Series panels starting at a floor, be sure the first row is straight and level. Determine the desired height of your first tile row and snap or draw a level line at that height for a reference line. Align the tops of each panel int he first row to the snapped line. It is important that this starting row be level and straight.

Hand applying white caulk to seal gap between wall and tiled floor for clean finish and moisture protection
Wall Solutions - Iconic Series wall panel installation is easily accomplished by 1 person. However, a two-person crew makes the job go faster, especially with larger-size panels. Wall Solutions - Iconic Series T panels' unique interlocking edges have a tongue and a groove. the tile's groove should be facing up when installing. This will prevent any moisture buildup. Take note of the tongue and groove (male/female) mechanism and plan for how they will fit together with your panel layout. High-gloss panels arrive with a removable protective film. remove the film after the panel is installed.

STEP 1

Measure and cut wall panel according to desired size. A table saw is recommended for cutting larger Wall Solutions - Iconic Series wall panels. High-grip construction gloves are also recommended, as dust from cutting can make panels harder to handle.

Large marble slab being cut on a Delta table saw in a workshop setting with dust and machinery visible.

STEP 2

Cut panels for outlets and light switches. Measure and mark the borders where the opening will be with a marker. Drill a 1/2-inch hole using a drill in a corner of the cut-out section. Use a jigsaw to cut the remaining opening, following your tracing.

STEP 3

Once tiles are cut, apply adhesive to the back of the panel. Using recommended adhesive, apply a 1/8″ bead around the perimeter of the panel, about 1″ in from the edge. Then, apply rows of adhesive every 4-6″ apart in a typical "M or "W" pattern

Person applying adhesive with caulking gun onto a large gray panel on a wooden surface during construction work.

STEP 4

Apply the panel to the substrate by pressing it into place. Apply even pressure with your hands across the entire panel. If necessary, use shims or pins to hold panels in place until the adhesive sets.

STEP 5

Wipe off excess adhesive. Use water and a cloth. Clean off any adhesive residue that is visible while it is still wet. Do not allow this residue to dry as it will be difficult to clean up when dry and could damage the finish.

Man kneeling to install large gray marble tile against a plain gray corner wall indoors.

INSTALLING IN A WET ENVIRONMENT

NOTE: If installing Wall Solutions - Iconic Series panels in a dry environment with no direct moisture exposure, you can forego applying sealant to edges or seams.

STEP 1

If using Wall Solutions - Iconic Series wall panels in a wet environment, apply a 1/8″ bead of sealant to the wall about 1/4″ in from the corner. slide the panel into the corner over the sealant.

STEP 2

Applying the sealant to the wall begins the process of ensuring a watertight barrier behind the panel.

Man installing large gray marble tile on wall with adhesive in home renovation project.
Hand pressing a large beige marble tile against a gray wall during installation or inspection process

STEP 3

Then, apply a second bead of sealant over the panel at the inside corner of the wall. This second bead ensures a watertight barrier, preventing moisture from getting behind the panel.

STEP 4

When installing the second and subsequent panels, engage the tongue and groove connection and move panel into place.

STEP 5

Apply more sealant to front of panel as necessary. Wipe off excess with a soft cloth. Do not use paper or shop towels, as they could scratch the surface of the panel.

Man applying adhesive to install large marble slab on gray wall in home interior renovation.
Close-up of a hand touching large beige marble tiles with natural veining and texture.
Person pointing at the thin gap between two beige marble wall tiles under a gray painted corner wall.
Person cleaning corner grout between large beige marble tiles with a white cloth.

STEP 6

Installation in environments exposed to a direct flow of water (shower, mud room or garage) require a 1/8″ bead of sealant to be used in all tongue and groove connections (image !). Add a bead of the sealant along recently cut edges to be placed into the corner. Repeat this process on perpendicular tile also facing corner (image B). Slide into place (image C).

STEP 7

An aluminum tile edge piece, which can be found at most home improvement stores. can be used for a clean connection at outside corners.

Two hands placed on large brown textured stone tiles separated by a thin silver grout line.
Two hands placed on large textured grey marble tiles showcasing surface and grout lines.
Close-up of corner edge trim installed on marble-patterned wall tiles with light gray painted wall above.

High Contrast Mode: