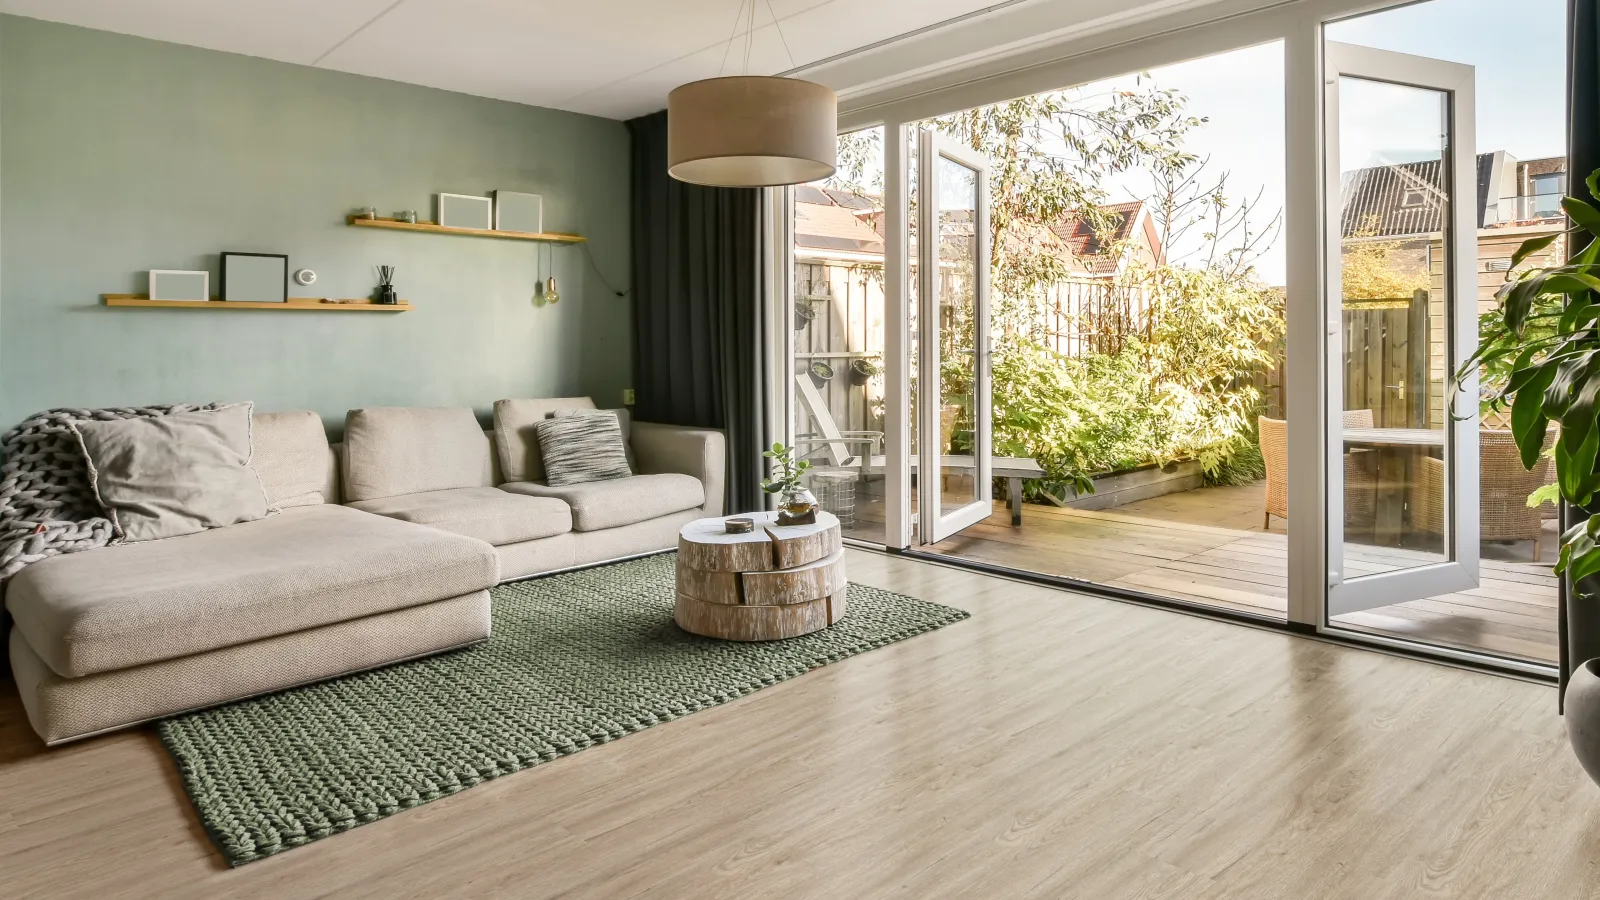
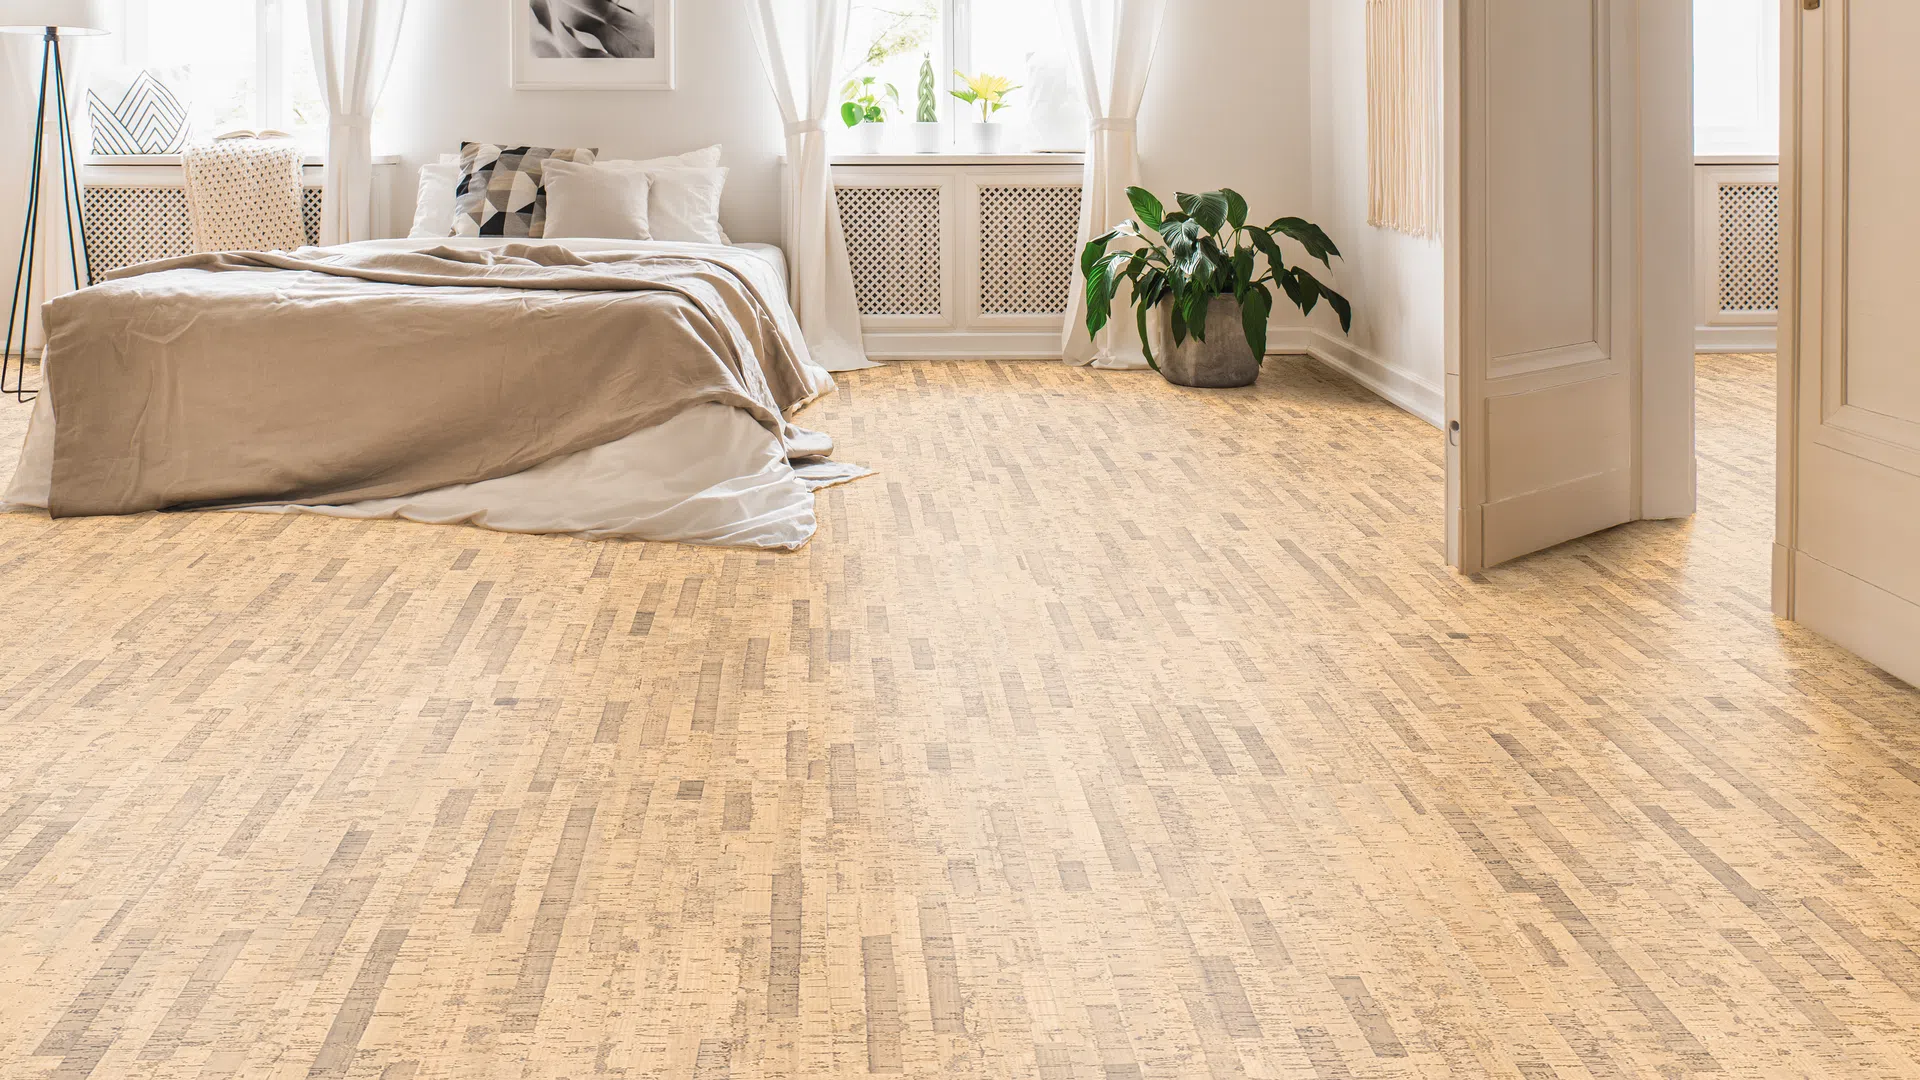
Bright bedroom with beige bedding, white curtains, wooden floor, green plant, and soft natural light.

Click-Cork Installation

Click-Cork Installation Guide

Master click-cork flooring installation
Fit Click-Cork Flooring Yourself
Download PDF

GENERAL INFORMATION

Click-Cork flooring can be installed quickly and easily thanks to its patented UNICLIC® system. The planks are profiled to fit precisely and lock together via the click connection. This flooring is robust, non-slip, dirt-repellent, antistatic, suitable for wet rooms and perfect for renovations.

Tools Needed

  • Tape measure
  • Utility knife or saw
  • Tapping block
  • 3/8″ spacers
  • Pull bar
  • Combination square
  • Safety glasses
  • Broom or vacuum
Set of hand tools including a hammer, measuring tape, utility knife, brush, safety glasses, and angle ruler on white.

Subfloor preparation

  • Click-Cork should be installed as a floating floor.
  • The substrate must be clean, dry, level and resistant to tension and compression.
  • Do not exceed maximum height tolerance of 1/8″ across a 6′ section.
  • Do not install over any type of carpeting.
  • Gaps of up to 1″ can be covered with the floor. *(It is always best to fill any gaps and prepare subfloor to be flat.)
  • Full-surface gluing to the substrate is possible.

Storage and acclimation

Product should be stored in a climate-controlled facility where warehouse temperatures are 50° F and above. When product is delivered from a climate-controlled warehouse to jobsite of 50° F or warmer, no acclimation is required. If product is kept in a facility or truck where it is exposed to cold temperatures of 40° F or lower or an extended period, product must acclimate for 24 hours at the jobsite before installation.

Diagram showing a gap less than 1/8 inch (3.1750 mm) over a 6-foot span with red measurement arrows.

Inspect

Inspect planks carefully for transport damage or material defects before installation. Slight variations in color and structure are typical characteristics of the flooring and enhance the natural character. If the material or the building conditions do not meet the requirements, do not start the installation as there is no claim for replacement of installed material with visible defects.

PE foil underlayment/moisture barrier

In an environment where moisture is a concern, (sub-grade over a new concrete slab in particular) a 6 mil polyethylene moisture block film vapor barrier can be installed prior to installation. This should overlap by approximately 8 inches and be taped at the joints.

Tip: In general, it is recommended to use a PE foil on concrete subfloors and a paper barrier for wood-based subfloors to promote floating of the floor

Underlayment for sound

Click-Cork features an integrated cork underlayment for walking comfort and acoustic performance. If an additional underlayment is desired, it should have a minimum density of 25 pounds per cubic foot and be rated for use under LVT flooring to avoid potential joint failure.

Cozy room with cork flooring, green paneled walls, wooden furniture, potted plant, and woven storage basket.

Maximum room size

The maximum allowable area without additional expansion joints is 6500 s.f. (100′ x 65′) per room.

Expansion space—perimeter

Click-Cork is designed to be installed utilizing the floating method only.

  • Do not secure planks to the subfloor using nails or screws.
  • Proper expansion space of 3/8 inch at walls should be maintained to allow for potential movement of other materials in the structure.
  • Undercut door jambs to allow flooring to slide underneath. Make sure that there is sufficient space for the planks to move, especially in this area—the door frames must not stand firmly on the floor.
  • Do not fasten wall moldings or transition strips to the planks to allow for potential movement.
Diagram showing 3/8 inch spacing between flooring plank and walls using temporary spacer wedges for installation.

INSTALLATION AND MAINTENANCE INSTRUCTIONS

Installation Variant 1: "Angle to Angle"

FIRST ROW: Start laying in right corner of the room. Lay the first plank so that the tongue side faces the wall. Align it exactly with spacer wedges. Lever the second plank with its front tongue in exact extension into the front groove of the first plank. After the first row has been precisely aligned, using a chalk line or straight edge, start laying the second row with the remaining piece of the last plank of the first row. The cross joints or end joints should ideally be offset by 8 inches or more.

SECOND ROW: The first plank of the second row is first placed at a slight angle on the long side (max. 10° / 2-3 cm) and clicked into the plank of the first row using a tapping block and hammer. Then lift the second plank and the plank next to it— already clicked in—slightly (max. 10° / 2-3 cm) and click them in lengthwise.

Lightly hit the long side of the plank and the end of the plank with a tapping block and a hammer to ensure optimal joint closure. Lay the remaining planks in direct extension of the first. Be sure to use the tapping block only on the tongue or the lower edge to prevent damage to the top decorative surface.

Illustration of flooring panels being installed with one panel tilted at approximately 10 degrees for fitting.
Diagram showing flooring panels installed with 10-degree lift angle for expansion gap of 2-3 cm along the wall.

Installation Variant 2: Angle Snap

FIRST ROW: Start laying in the right corner of the room. Lay the first plank so that the tongue side faces the wall. Align it exactly with spacer wedges. Place the second plank just in front of the first plank and tap it together using a tapping block and hammer. Make sure that the planks are aligned. After the first row has been precisely aligned by using a chalk line or string, start laying the second row with the remaining piece of the last plank of the first row. The cross joints or end joints should ideally be offset by 8 inches or more.

SECOND ROW: The first plank of the second row is placed at a slight angle on the longitudinal side (max. 10° / 2-3 cm) and clicked into the plank of the first row using a tapping block and hammer. On the front side, the panels are clicked into place by tapping gently wit the tapping block. Lay the remaining planks in direct extension of the first.

NOTE: The spacer wedges must be removed after finishing the installation.

Diagram showing installation of interlocking floorboards with 10-degree angle and 2-3 cm gap adjustments.
Installing gray wooden floor planks with a rubber mallet and tapping block in a staggered pattern in a room corner.

Door Frames

When fitting around obstacles, under door jambs or into irregular spaces, planks can be cut with a jigsaw. it is often beneficial to make a cardboard template of the area and transfer this pattern to the plank. Make sure that there is sufficient space for the planks to move, especially int his area - the door frames must not stand firmly on the floor.

Baseboards

Affix baseboards to walls and not finished floor.

Underfloor heating

Follow the instructions of the manufacturer/installer of the underfloor heating system and the relevant regulations. After the heating system has been put into operation, the surface temperature must not exceed 2° F.

Kitchen cabinet, islands and heavy furniture

Click-Cork's superior low expansion and contraction performance allows floors to be installed throughout entire rooms and support kitchen cabinets, islands and heavy furniture on top of the flooring.

TIP: Installation on a controllable underfloor heating system is possible under the above parameters. The heating system should be a minimum of 1/16″ under the slab.

Modern home office with brown leather chair, black desk, computer, large plant, and natural light from window.

Cleaning, care & protection

After installation, sweep, vacuum or damp mop the floor. For routine cleaning we recommend a pH-neutral cleaner. With heavy soil, us a PU cleaner. Do not use cleaner with aggressive and/or solvent - or glycerine-containing agents.

Do not add any finish to promote shine to your flooring. In entrance areas, use dirt-trapping mats that do not cause contact discoloration. Mats with rubber or latex backing, rubber caps on equipment, chair or table legs can cause discoloration of the floor. Contact points should be protected if necessary.

Room Climate

Click-Cork is suitable for rooms with a normal climate. A relative humidity of 50-60% and a room temperature of approx. 68-71° F are ideal. As with any natural product, extreme sunlight can lead to color changes.

Bright bedroom with beige bedding, white curtains, wooden floor, green plant, and soft natural light.

High Contrast Mode: