Hands installing white marble-patterned tile with plastic trim on plywood subfloor surface.

Wall Trims Installation

Wall Trims Installation

Nail down trim basics
Tackle Trim Yourself
Download PDF

Edge J Trims
J Trims are used to finish the terminal end of tiles when not adjoined to anything. To install, first keep the adhesive a few inches from the tile's edge where you intend to use the J-Trim. This will allow the trim to slide into place. Dispense a bead of sealant into the receiving channel of the trim and then press the trim into place.
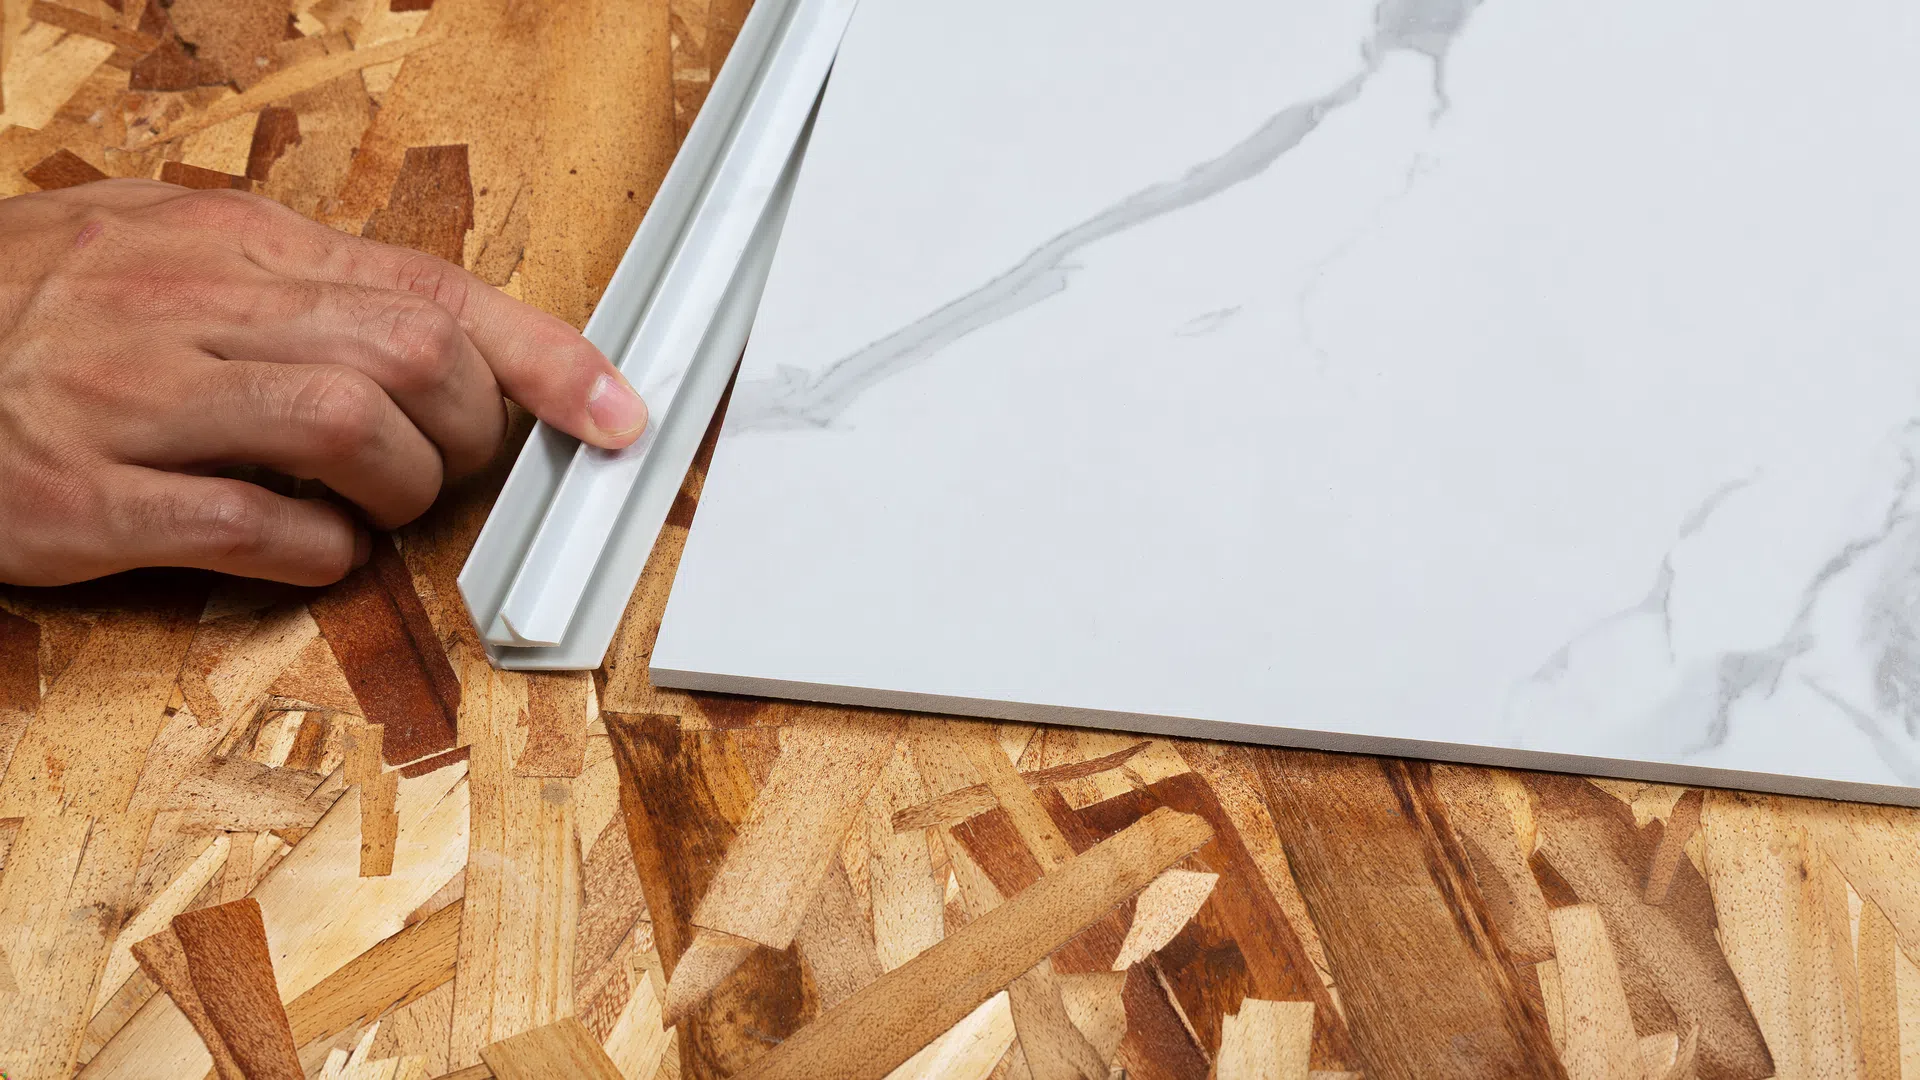

Close-up of gray vinyl plank flooring with a metal edge trim against a white background
Diagram of Palisade J-Trim showing dimensions and placement around Palisade Tile for installation.

Inside Corner Trims
Inside Corner Trims should be attached with adhesive to the substrate. Dispense a small bead of adhesive directly to the substrate corner or on the trim itself. Also dispense a bead of sealant into each of the trim's channels to prevent water from reaching the substrate.

Close-up of two beige ceramic floor tiles joined by a matching corner trim piece with grey edge.
Diagram of Palisade inside corner trim with measurements for Palisade tile cross-section.

L Trims
L Trims are used to finish the terminal end of tiles when not adjoined to anything. To install, don't dispense adhesive a few inches from the tile's edge where you intend to use the J-Trim. This will allow the trim to slide into place. Dispense a bead of sealant into the receiving channel of the trim and then press the trim into place.
Close-up of a corner joint with a metal edge trim on gray textured panels forming a right angle.
Diagram of Palisade L-Trim showing dimensions and its placement between palisade panel and transition tile wall.

High Contrast Mode: