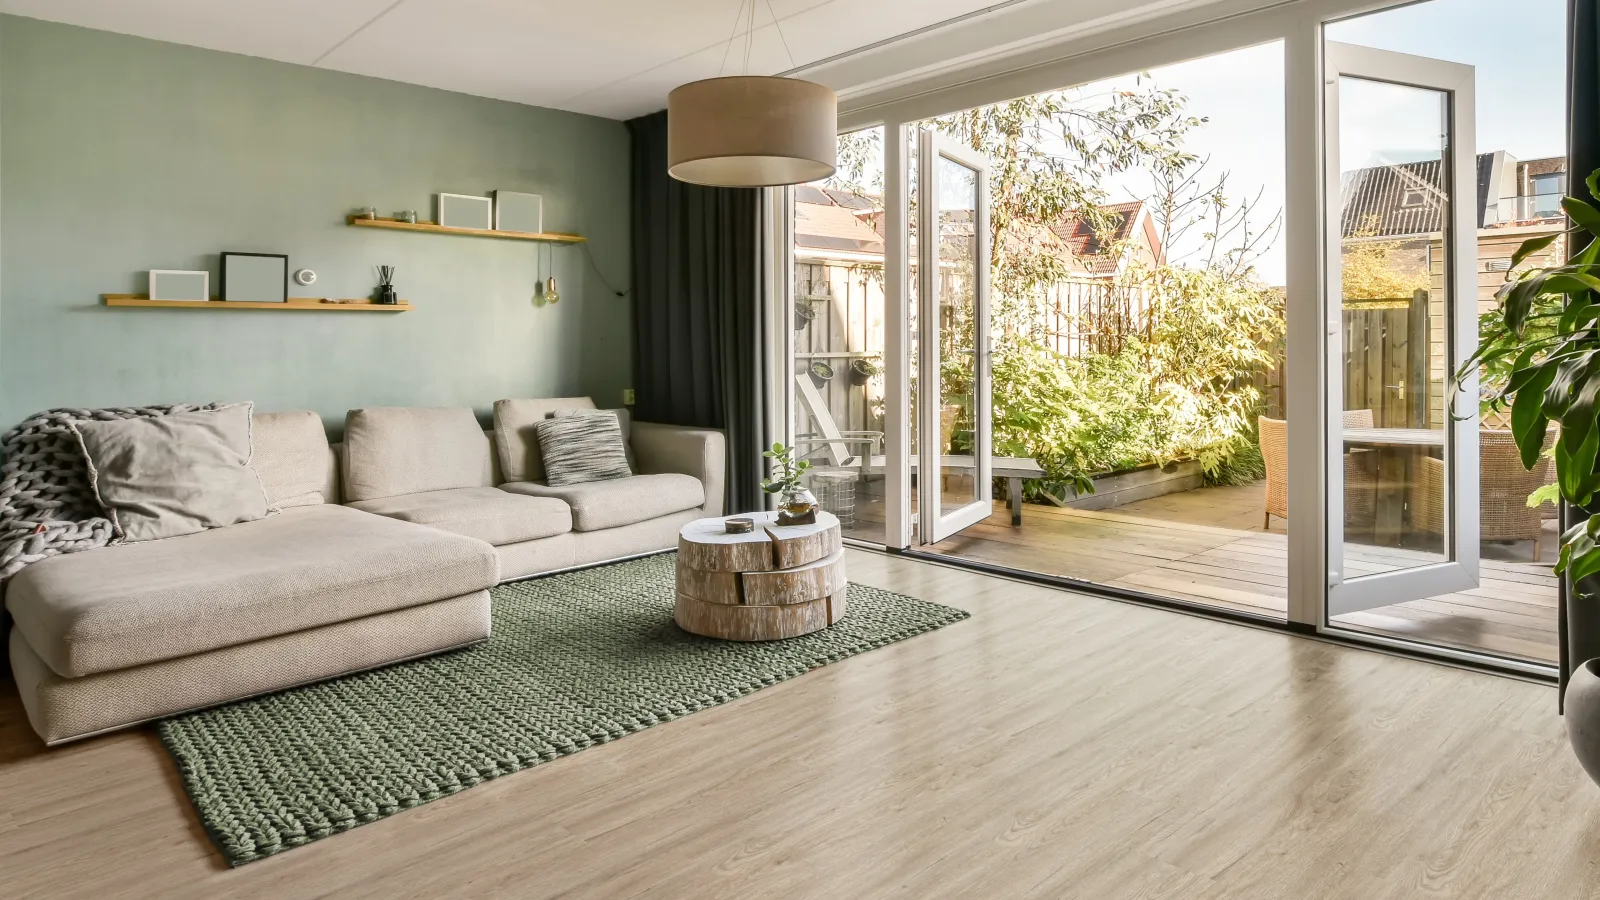
Modern shower corner with dark gray tiles, built-in shelves holding bottles and scrub, and a black handheld showerhead.

Shower Shelf Installation

Shower Shelf Installation Guide

Build a sturdy shower shelf
Gauge Your DIY Skill Level
Download PDF

READ this entire installation guide before beginning your installation. The manufacturer is not responsible and will not be held liable for project failures if installation guidelines are not followed.

Although these tiles are 100% waterproof, we recommend the use of a siliconized sealer like DAP® or SilTex in the seams for added protection. Follow your local building codes for wet environments like shower and tub enclosures. We recommend a 100% waterproof substrate that will prevent water from getting behind potentially unsealed areas that would cause mold or other damage.

Acceptable waterproof substrates: existing ceramic tile walls, CementBoard ® , Schluter Kerdi Board® , GP DensShield® , Johns Manville GoBoard® ,HardieBacker® , Fiberock® and equivalent products. Always follow manufacturer's installation instructions to create a waterproof enclosure

Triangle marble shelf with two white brackets and four stainless steel screws on brown background.

Tools and supplies needed:

  • Protective eye wear
  • Level
  • Screwdriver or screw gun
  • Caulking gun for 10.3 oz adhesives: Loctite® Power Grab® Ultimate (white formula), LIQUID NAILS® FUZE*IT®,Titebond Titegrab UltimateTM and Manus 75-AM HV(In Canada, use Lepage® No More Nails Wet Grab)
  • Silicone-based sealant
Red and green tapered anchors shown for installing Palisade tiles over existing tile as per instructions.

After locating where you want to place the bench, put adhesive onto bracket.

Suggested height is 20″ from floor. Install the first screw closest to the corner of the shower. Pre-drilled holes are provided for ease. Before installing the second screw, be sure to level the wall bracket, Then install the other 2 screws (for a total of 4 screws) to secure it to the wall.

Hands installing white corner trim on marble-patterned wall tiles in a bathroom or kitchen setting
Person using a green cordless drill to screw a white wooden board to a tiled wall, checking level with a red spirit level.
Person using a green cordless drill to screw a white wooden board into a marble wall corner.

When installing the other wall bracket, make sure they are touching where they meet.

Complete the install of the second wall bracket by repeating the same process as with the first. Install the cross bracket using the pre-drilled holes for screw locations. Apply a bead of adhesive along the top edge of the brackets.

Corner of two marble patterned walls with white wooden support bars attached by screws.
Hand applying adhesive with caulking gun to secure white marble-patterned triangular panel on brown surface.
Person applying adhesive glue to the edge of a triangular marble-patterned object on a brown surface.

Place the sub-deck onto the brackets, counter-sunk holes facing up.

Use the sub-deck screws by placing them into the pre-drilled countersunk holes so that the screws can be flush with deck surface.

Dry fit the bench for 2 reasons. The first is to see what side you prefer since the pattern will vary on each side.

The second reason is to make sure it fits well against the wall on both sides, If not, you might have to plane and/or sand edges to adjust the fit. Use a plane and/or sand to adjust the fit. Keep in mind you will need to adjust both the top and bottom of the bench.

Hands installing a triangular marble-patterned shelf corner on a wall with marble tiles and white support brackets.
Hands installing a triangular white marble tile in a corner space against marble walls for seamless design.

Apply adhesive to the sub-deck surface.

Apply a bead of sealant where the wall and sub-deck meet.

Apply adhesive just inside the edge of the bottom of the bench. Carefully slide the bench into place.

Person applying sealant with a caulking gun to a triangular shelf installed on a marble-patterned tiled wall.
Person applying adhesive to install a triangular shelf bracket on a marble tiled bathroom wall.

As you get closer to it being all the way in place, the sealant should start to push up to fill in between the wall and bench edge.

Wipe off any excess sealant that pushes out or add sealant in areas needed.

Hands installing white marble-patterned corner shelf on tiled wall with gray veining detail.

High Contrast Mode: